
Cooling procedures for food: the two-stage method and how to log it correctly
Cooling procedures for food: a practical guide to the two-stage method and HACCP compliance
Cooking food kills most pathogens. Cooling it back down is where many kitchens lose control. When hot food lingers too long in the wrong temperature range, surviving bacteria and spores multiply fast, and no amount of careful cooking earlier in the day can undo the damage. This guide covers the cooling rules you have to follow, the reasons cooling fails in real kitchens, and the practical steps and tools that close the gaps between checks.
Why cooling is one of the riskiest steps in your kitchen
If you track where foodborne illness outbreaks begin, improper cooling shows up again and again, more often than undercooking. The reason is simple: cooked food is loaded with nutrients, moisture, and any heat-tolerant bacteria that survived the stove. Cool it too slowly and you've built a perfect incubator.
Hot food doesn't drop through the danger zone instantly. A stockpot of chili or a whole roast can sit in the warm, bacteria-friendly range for hours if you just push it into the walk-in and walk away. That slow passage is the problem.
Improper cooling is also one of the most frequently cited violations during health inspections, partly because it's hard to prove after the fact. A log that says food reached 41°F doesn't show how long it took to get there.
This article walks through three things: the cooling rules, why cooling fails, and how continuous monitoring helps you catch failures before they cost you a batch or a citation.
FDA Food Code time and temperature requirements for cooling
The FDA Food Code sets two time-temperature limits for cooling cooked food, and both matter:
- Stage 1: Cool food from 135°F to 70°F within 2 hours.
- Stage 2: Cool food from 70°F to 41°F within an additional 4 hours, for a total of 6 hours.
Food that starts below 135°F (for example, a room-temperature ingredient combined into a dish) must reach 41°F within 4 hours.
The first two-hour window is the most critical and the least forgiving. Bacteria multiply fastest in the upper part of the danger zone, so getting food from 135°F down to 70°F quickly does the most to keep counts low. If you're going to blow a deadline, this is the one that hurts most.
State and local codes may vary slightly from the federal model. Always follow the code your jurisdiction has actually adopted, and confirm with your local health department if you're unsure.
The temperature danger zone and the bacteria that make cooling dangerous
The temperature danger zone runs from 41°F to 135°F. Within that band, most foodborne bacteria grow, and in the middle of it they grow explosively, doubling in as little as 20 minutes under the right conditions. Cooling is dangerous precisely because food has to travel the full width of this zone to get from hot to cold. For a deeper look, see our guide on the temperature danger zone for food.
Several pathogens are tied specifically to improper cooling:
- Clostridium perfringens — often called the "cafeteria germ," it thrives in cooling meats, gravies, and large batches.
- Bacillus cereus — associated with cooked rice and starchy foods left to cool slowly.
- Staphylococcus aureus — produces a toxin as it grows.
The scary part is that some of these organisms form heat-resistant spores, and some produce toxins that survive reheating. That means reheating a badly cooled batch to 165°F may kill the live bacteria but leave a heat-stable toxin behind. You can't cook your way out of a cooling failure.
Dense, high-volume foods are the highest risk: thick soups, stews, roasts, refried beans, and large batches of rice. Their mass holds heat in the center long after the surface feels cool.
The two-stage cooling method step by step
The two-stage method breaks cooling into the same two windows the Food Code defines:
- Stage 1 — rapid drop: Bring the food from 135°F down to 70°F within 2 hours using an active cooling method (below).
- Stage 2 — finish the job: Continue cooling from 70°F to 41°F within the next 4 hours, usually in refrigeration.
A few rules make the method work:
- Start timing the moment food drops below 135°F. The clock does not start when your shift ends or when you remember.
- Check the internal temperature with a calibrated probe, inserted into the thickest part or center of the batch. Surface temperature lies; the center is what matters.
- Check at interim points, not just at the end. Knowing the food hit 70°F at the two-hour mark tells you the risky stage went right.
If you miss a stage limit, you have two options: reheat the food to 165°F and restart the cooling process, or discard it. Reheating is only viable if you catch the miss early and the food hasn't already had hours of unchecked growth. When in doubt, throw it out.
Safe cooling methods and when to use each
No single method fits every food. Match the method to the product and your volume.
Ice baths and ice paddles
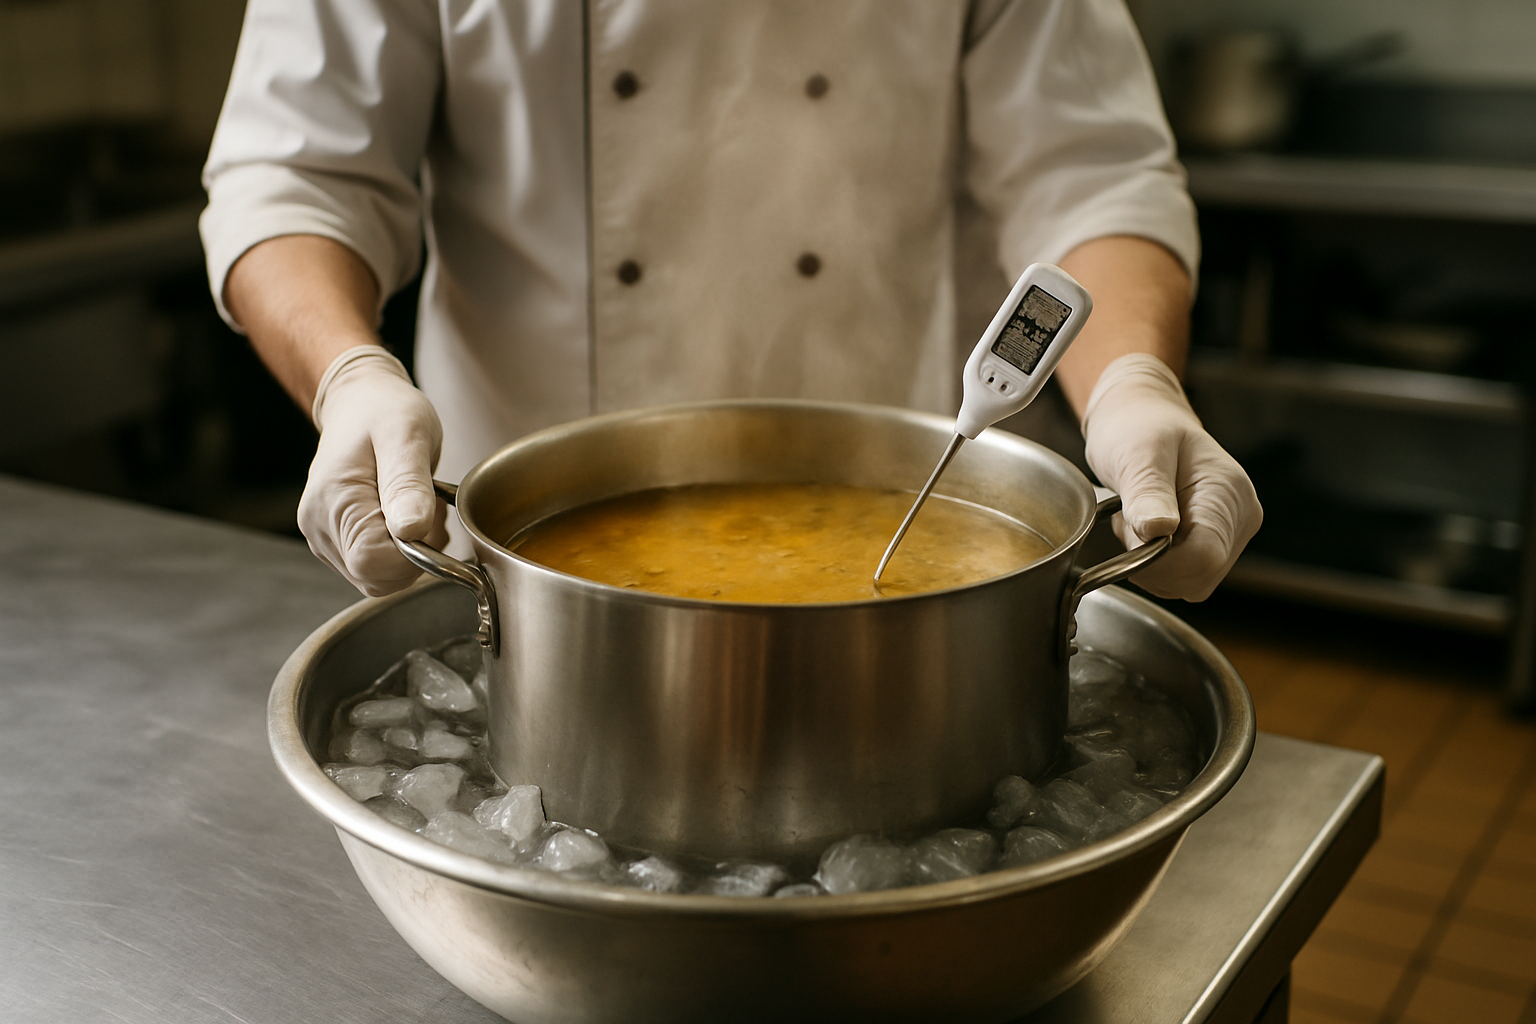
Ice baths are the go-to for soups, sauces, gravies, and other liquids. Set the container in a larger vessel filled with ice and water so the ice contacts the sides. Stir frequently to bring hot liquid from the center to the cooler edges and release heat evenly. For large batches, ice paddles (frozen wands you stir with) push cold into the center where a bath alone can't reach.
Shallow pans and portioning
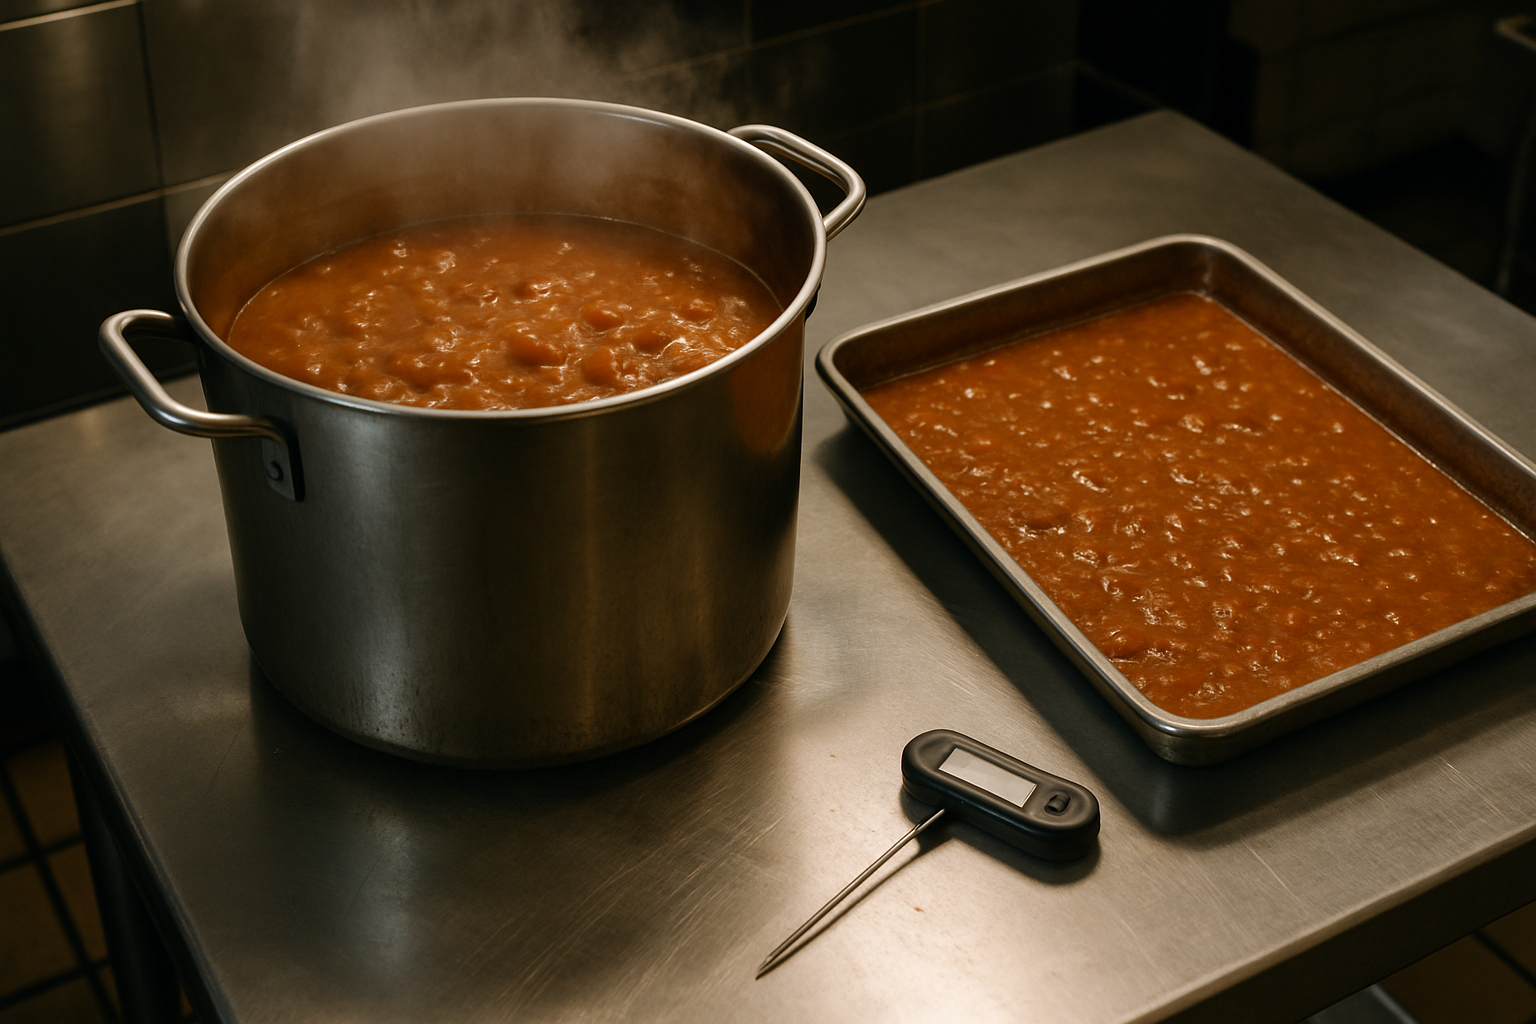
Depth is the enemy of fast cooling. Spread food into shallow pans no more than 2 inches deep so heat has a short distance to escape. Break large cuts of meat into smaller portions before cooling. Leave pans uncovered or loosely covered during active cooling so heat can vent, and never stack pans, which traps heat between them.
Blast chillers and rapid cooling equipment
A blast chiller is the fastest and most reliable option and is built for exactly one job: moving food through the danger zone quickly. For high-volume kitchens that cool large quantities daily, the investment pays off in reduced waste, easier compliance, and consistent results. If cooling failures or discarded batches are a recurring cost, a blast chiller often makes financial sense.
Ice wands, adding ice as an ingredient, and pre-chilling
You can lower a dish's starting temperature by using ice as part of the recipe (adding it as some of the water in a soup or sauce) or by pre-chilling ingredients before combining them. And a critical don't: never place large hot batches directly into a walk-in. A big pot of hot food raises the ambient temperature of the whole unit, stresses the compressor, and can warm everything else stored inside.
Common cooling mistakes and how staff can avoid them
Most cooling failures come from a handful of habits:
- Cooling in deep, covered containers that trap heat in the center for hours.
- Overloading the walk-in by trying to cool too much food at once, overwhelming the unit.
- Leaving food out at room temperature to "cool down" before refrigerating, which parks it in the danger zone.
- Not starting the clock or skipping interim temperature checks.
- Relying on memory instead of logs so no one knows if a batch actually made its deadlines.
- Placing hot food next to cold items, warming everything around it.
Fix these with clear standards: mandatory shallow pans, portioning rules, a start-the-timer habit, and written logs no one is allowed to skip.
Documenting and verifying cooling for HACCP compliance
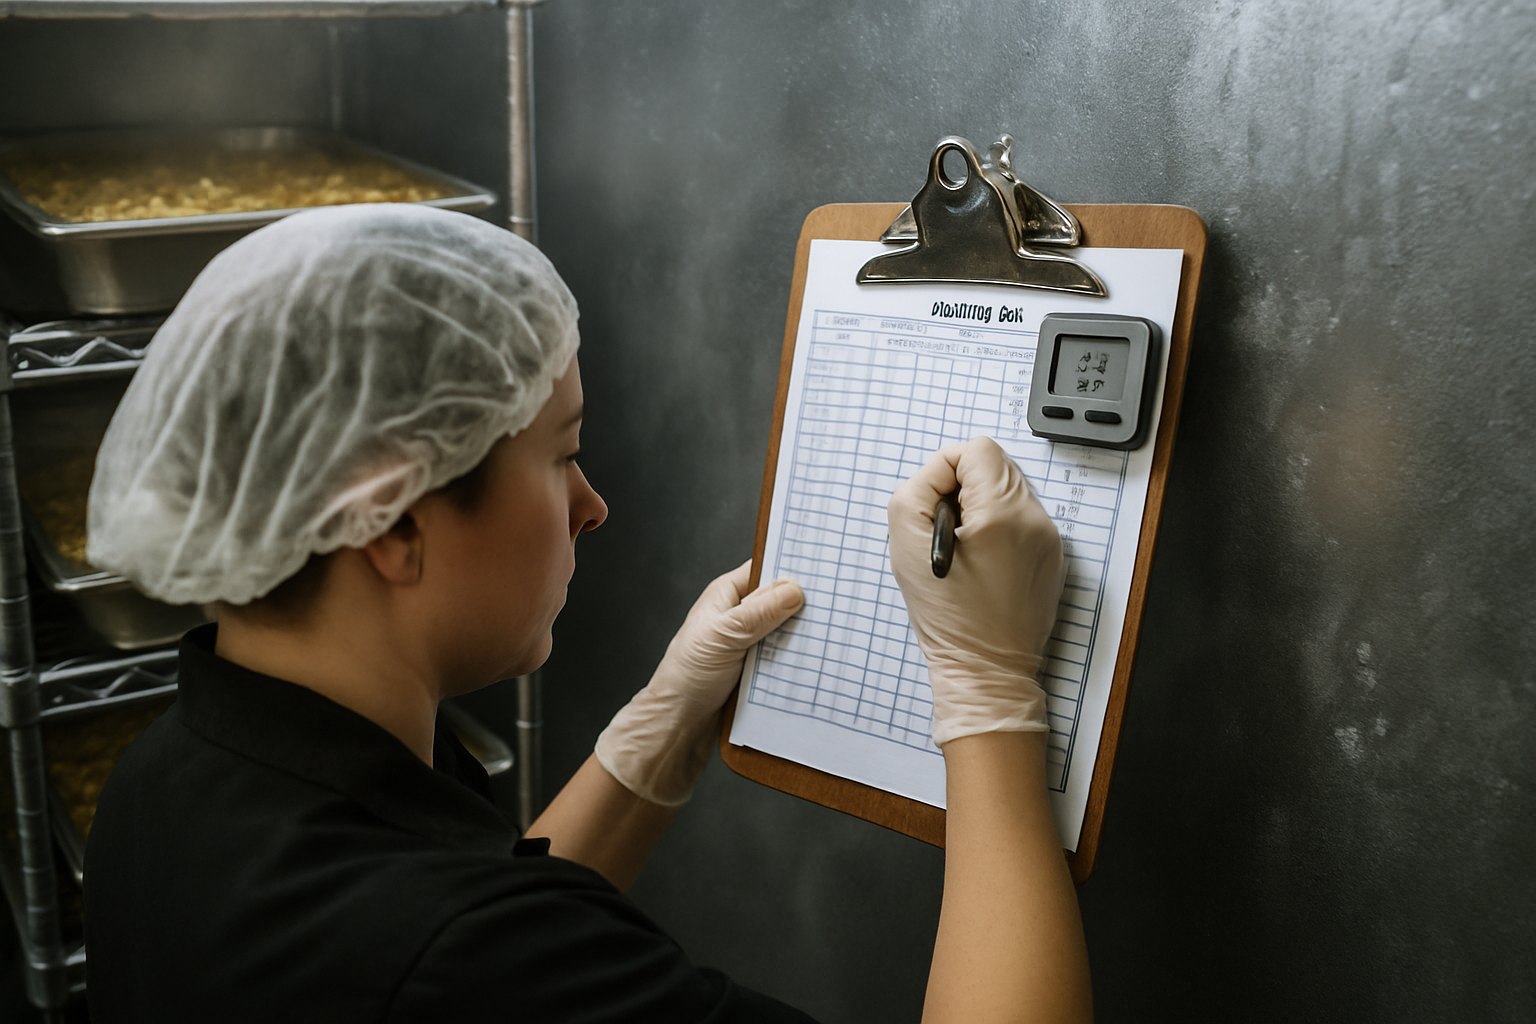
In a HACCP plan, cooling is almost always a critical control point. That means it needs monitoring, defined limits, corrective actions, and verification.
A useful cooling log captures:
- Time and temperature at each checkpoint (start, the 70°F check, and the final 41°F check)
- Corrective actions taken if a limit was missed
- Staff initials for accountability
There's an important difference between monitoring (someone recording readings) and verification (proving the process actually worked). A signed log shows someone wrote numbers down; it doesn't prove the food stayed on the cooling curve between entries.
That gap between manual checks is the compliance weak point. If a cook logs 135°F at noon and 41°F at 6 p.m. but never checks in between, there's no proof the food hit 70°F by 2 p.m. Inspectors look for exactly this: complete records, realistic timing, and evidence that corrective actions happened when they should have.
How automated temperature monitoring closes the gaps
Manual logs only capture the moments someone remembers to check. Automated monitoring with readings every 20 minutes captures the full cooling curve, so you can see whether food truly moved through the danger zone on schedule instead of guessing from two data points.
The benefits stack up:
- Alerts flag when food or a cooler drifts out of range, so you can act before a batch is lost.
- Recurring personnel issues become visible: a freezer door left open too long during stocking shows up as a temperature spike that a manual log would never catch.
- Wireless sensors install without drilling and keep a continuous record that's ready to hand an inspector.
- Patterns over time distinguish equipment failure from process failure — a cooler that struggles every afternoon points to the unit, while spikes only during prep point to staff habits.
Continuous data supports good procedures; it doesn't replace them. Your team still needs to portion, stir, and log. Monitoring gives you the proof and the early warning. Pair it with disciplined refrigerator temperature monitoring and freezer temperature alarms for full coverage.
Building a reliable cooling routine in your kitchen
A dependable cooling program combines three things: the right method, disciplined logging, and continuous monitoring.
- Train every staff member on the two-stage rule and the importance of interim checks, not just the final temperature.
- Standardize container sizes and portioning so cooling doesn't depend on who's working.
- Review your monitoring data regularly to catch trends — a cooler that's slowly getting weaker, or a shift that consistently cools too slowly — before they become an outbreak or a violation.
Get those three working together and cooling stops being your riskiest step.
FAQs
What is the 2-hour/4-hour rule for cooling food?
It's the two-stage cooling limit: food must cool from 135°F to 70°F within 2 hours, then from 70°F to 41°F within the next 4 hours, for 6 hours total. The first two-hour window is the most critical because bacteria grow fastest at higher temperatures.
Can you put hot food directly into the refrigerator or walk-in?
Not in large hot batches. A big pot of hot food raises the unit's ambient temperature, stresses the compressor, and can warm other stored food. Cool food first with an ice bath, shallow pans, or a blast chiller, then move it to refrigeration to finish.
What temperature should cooked food reach before storage?
Cooked food should be cooled to 41°F or below before long-term cold storage, and it must reach that temperature within the total 6-hour cooling window.
How do you fix food that cooled too slowly?
If a batch misses a cooling stage and you catch it early, you can reheat it to 165°F and restart the cooling process. If the food has spent too long in the danger zone or you can't be sure, discard it — some bacteria produce toxins that reheating won't destroy.
Which foods are most at risk during cooling?
Dense, high-volume foods that hold heat: thick soups and stews, large roasts, cooked rice, and beans. Their mass keeps the center warm long after the surface cools, giving bacteria time to multiply.
Have Questions About VitaTemp?
Our team is here to help you with temperature monitoring solutions for your business.